-R(150px).jpg?width=100&height=100&name=Six3_box(red)-R(150px).jpg "logo")
Are you looking for a tiling solution for multifamily new construction or rapid renovation? Six3Tile’s Pro Kits could be exactly what you’re looking for. It’s a tile paneling system for showers and bathroom walls, designed to save you substantial time, resources, and money with pre-cut tile panels that any contractor can install and grout in an afternoon. If you want to learn more about this ceramic-tile alternative, this article will be helpful. In it, we’ll jump into the most important Six3Tile features and installation tips.
What are Six3Tile Shower & Tub Surround Pro Kits?
Six3Tile’s Shower & Tub Surround Pro Kits are designed to take the pressure and insanity off the field measuring team. For years, tile has required precise square foot calculations leading to over and under-ordering for a job. Well no more! Six3Tile has engineered their kits for easy ordering. You have 200 tubs to renovate? Order 200 kits. You have 300 showers that need updating? Order 300 shower kits.
Inside the kit are tile panels for showers and tubs, which are painstakingly designed to make installs quick and easy. They are an integrated tiling system that looks like ceramic tile but doesn’t require special tools or veteran tile installers. And because they form a water-tight seam, they are ideal for shower and tub surrounds.
Each Six3Tile panel is durable and lightweight. As most buildings have settled and shifted over their lifetime, Six3Tile enables installation over not-so-perfect walls or installation areas. This is accomplished with the PVC substrate used as the base of the product.
What Comes in a Six3Tile Pro Kit?
Our Shower & Tub Surround Pro Kits come with enough panels to cover an industry-standard tub surround or shower. The Tub Surround kit comes with 9 tile panels - covering 64 square feet, and the Shower kit comes with 12 - covering 84 square feet.
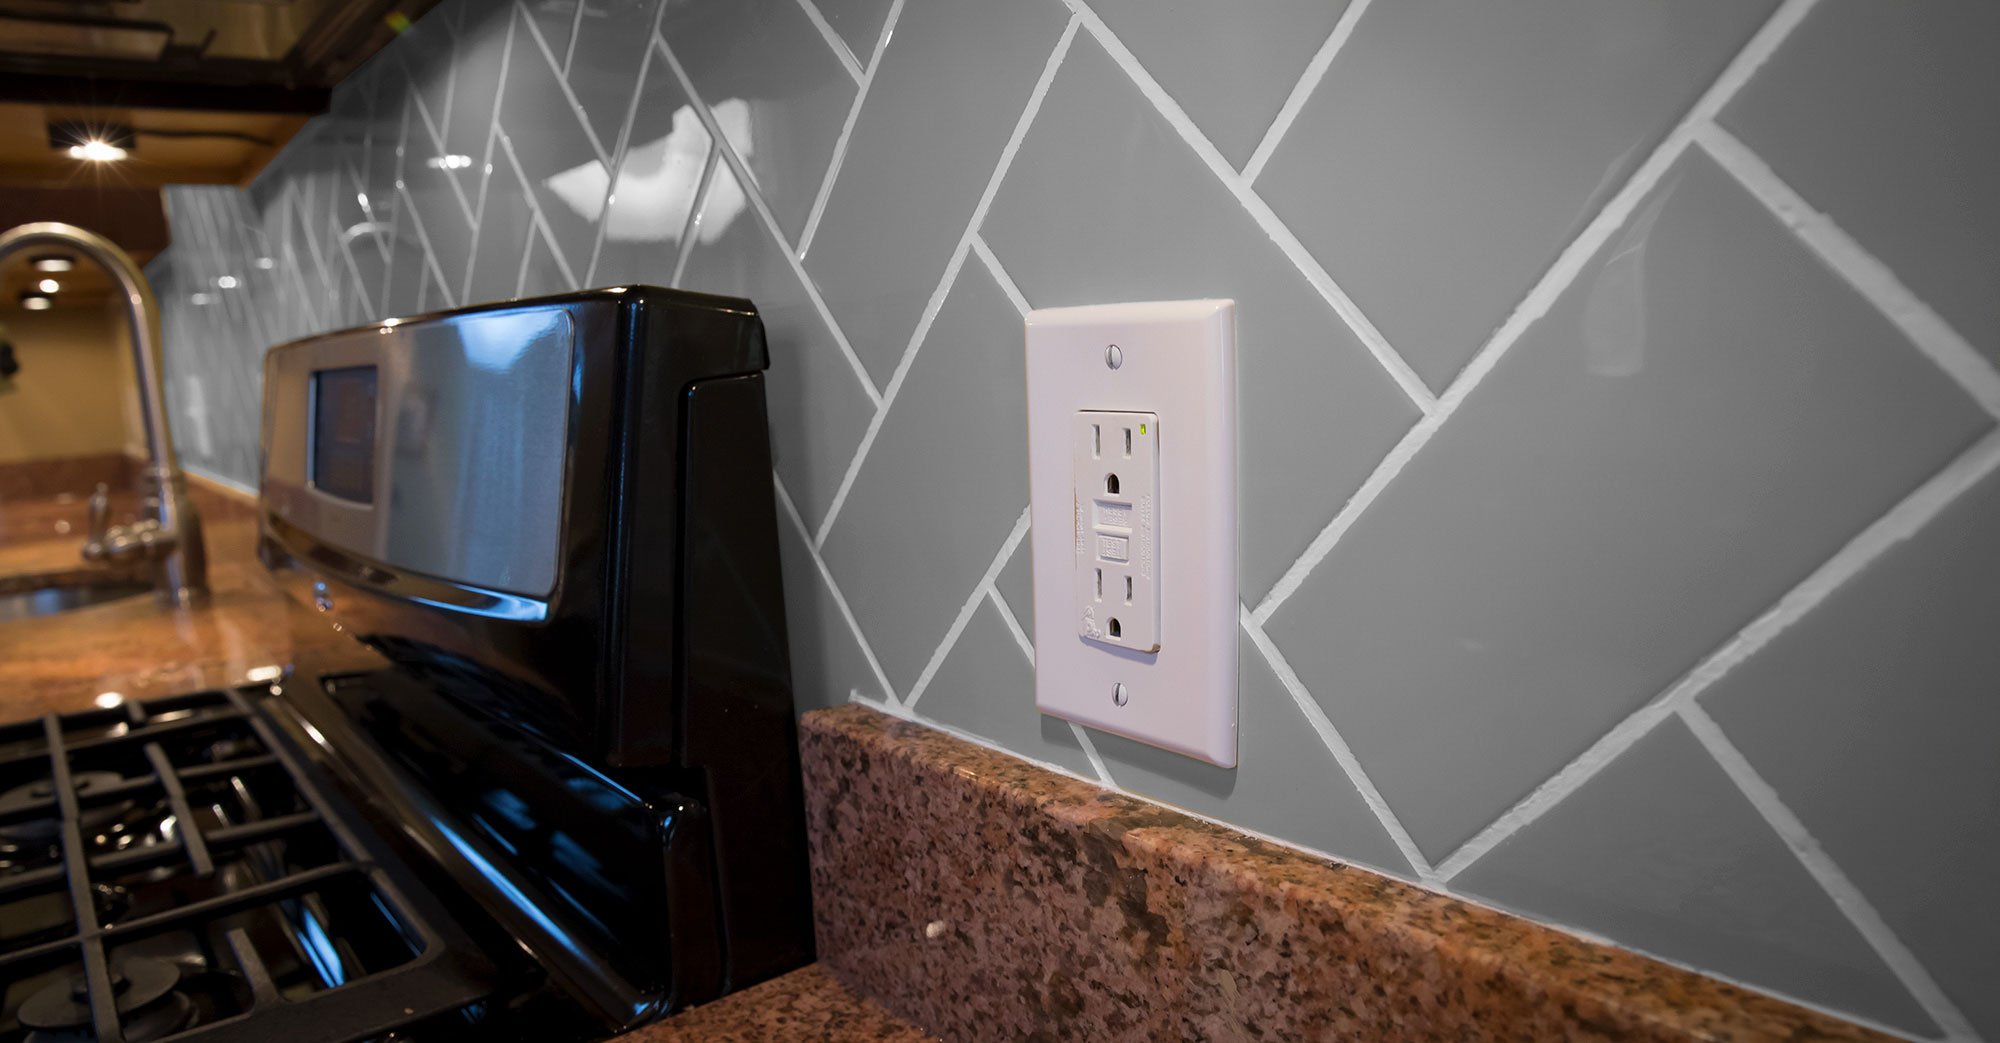
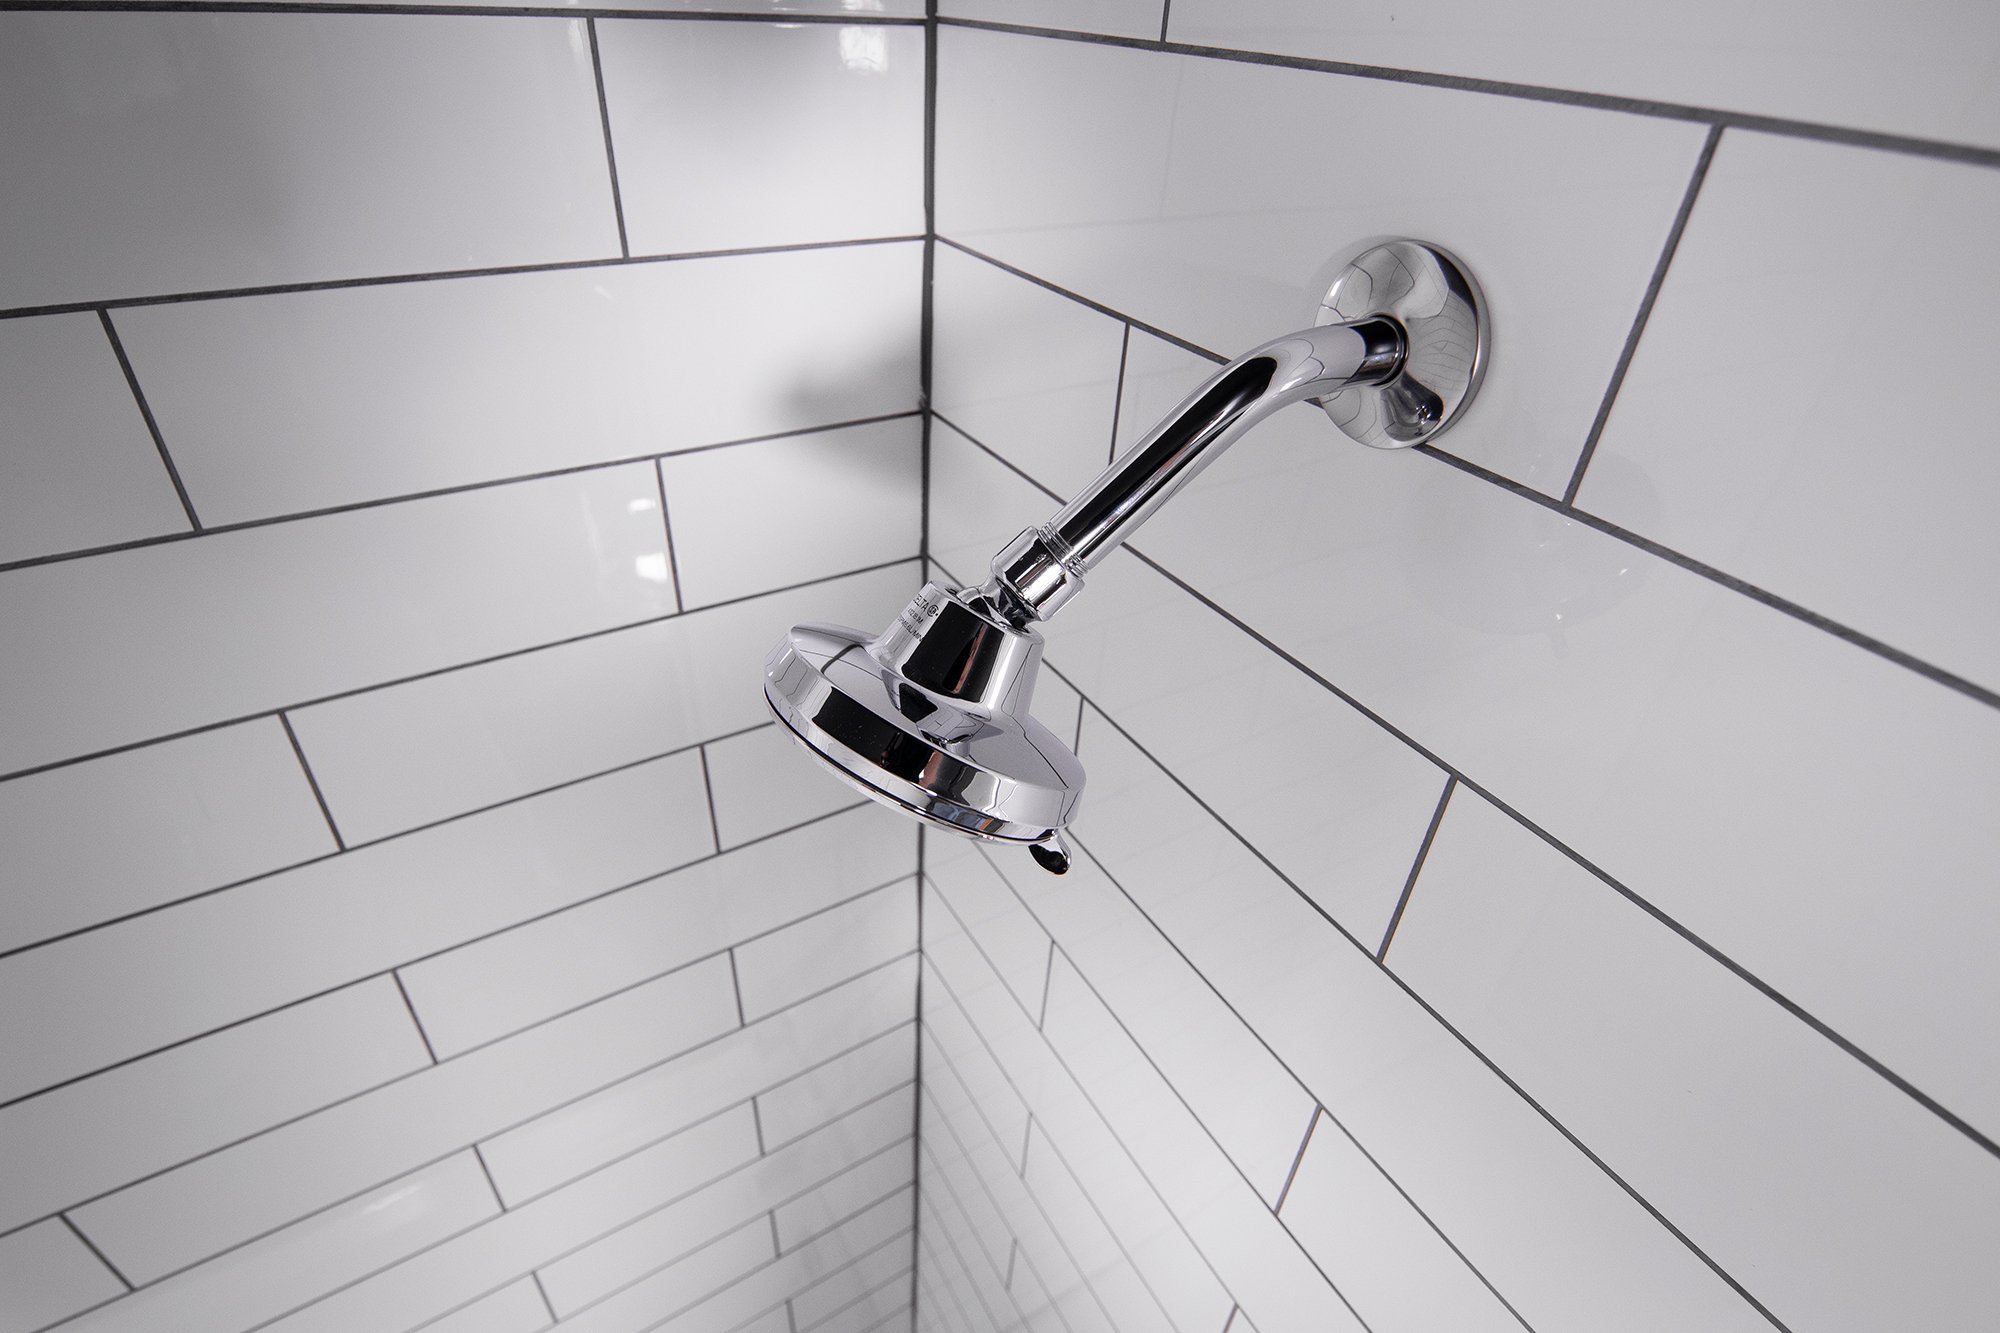
Six3Tile is available in 12x24 and 4x16 subway tile patterns. Check out our gallery of installations to see them for yourself.
Lightning-Fast Installations
Virtually anyone can install our large format panels within about an hour, compared to 2 days for ceramic tile. If you’re wondering why, here are a few reasons:
- You don’t have to install tiles individually like you would with ceramic tiles. With Six3Tile Shower & Tub Surround kits, you’ll install a few large-format panels, each with dozens of tiles carved in.
- You don’t have to do any special surface prep. You can install Six3Tile panels over several surfaces, and they don’t have to be finish quality. The panels are designed to be installed over cement backer boards, moisture-resistant drywall, or even existing tile. Just ensure that the surface is solid, clean, and relatively smooth.
- Grouting can be done immediately. There’s no need to wait for the tile adhesive to set. This is a major timesaver when doing repairs or installations at scale.
Easy Tile Panel Modifications
Since every installation area is a bit different, modification may be necessary to get a perfect fit. To cut the tile, you’ll use an oscillating saw, circular saw, or utility knife. To cut access holes, you can also use a hole saw. Since the tile panels have a PVC base, be sure to use wood blade (fine finish preferred) for the smoothest cuts.
Water-Tight Assembly
To mount a Six3Tile panel to the wall, you’ll use one of two adhesives: Type-1 mastic or construction adhesive. Type-1 mastic is best when installing the panels over cement board or moisture-resistant wallboard. If you’ll be installing the tile panels over existing tile, use construction adhesive.
Our water-tight seal works! We tested the effectiveness of our water-tight seal by submerging a wall with 2 Six3Tile panels installed. After 2 hours of being submerged, there were no leaks.

Installing Six3Tile Paneling for Showers and Tub Surrounds
Installing Six3Tile panels is very straightforward, though there are specific steps you’ll need to follow to get them mounted correctly. Below, we’ll share helpful tips for installing Six3Tile panels:
- Apply a bead of silicone sealant along the vertical corners of each wall and the base where the first tile panel meets the tub or shower pan. You’ll do this prior to installing the panels to create a water-tight seal.
- The tile panels should be installed with the tongue side up and the channel side down. That way, they’ll interlock when you stack them, creating a water-tight seal. After that, you’ll slip the top panel over the bottom one. Notice that stacking creates a grout channel automatically – no tile spacers needed.
- Right after getting the tiles mounted, you can start grouting. For the best results, you’ll use the same tools (grout float and microfiber towel) and process as you would for grouting ceramic tile. You can use whichever grout color you want, but be sure to choose unsanded or non-sanded grout for Six3Tile.
So, there you have it - quick facts about Six3Tile Tub and Shower panels, including their features and installation tips. For more information about Six3Tile, check out our customer resources and frequently asked questions. You can also contact us directly – we are standing by to assist! Happy tiling!

sm.jpg)
sm.jpg)