-R(150px).jpg?width=100&height=100&name=Six3_box(red)-R(150px).jpg "logo")
Six3Tile panels come in several patterns to match your desired project aesthetic. But the specific pattern you choose does have an effect on the installation process. The two main pattern types include running bond and stacked bond, and in this article, we’ll tell you everything you need to know about both of them.
Running Bond Joints vs. Stacked Bond Joints
The running bond tile pattern resembles brickwork. It’s a pattern where each tile begins at the midpoint of the tile below it. In other words, the tiles are offset by half their width. Each of the joints is defined by the pattern’s grout lines.
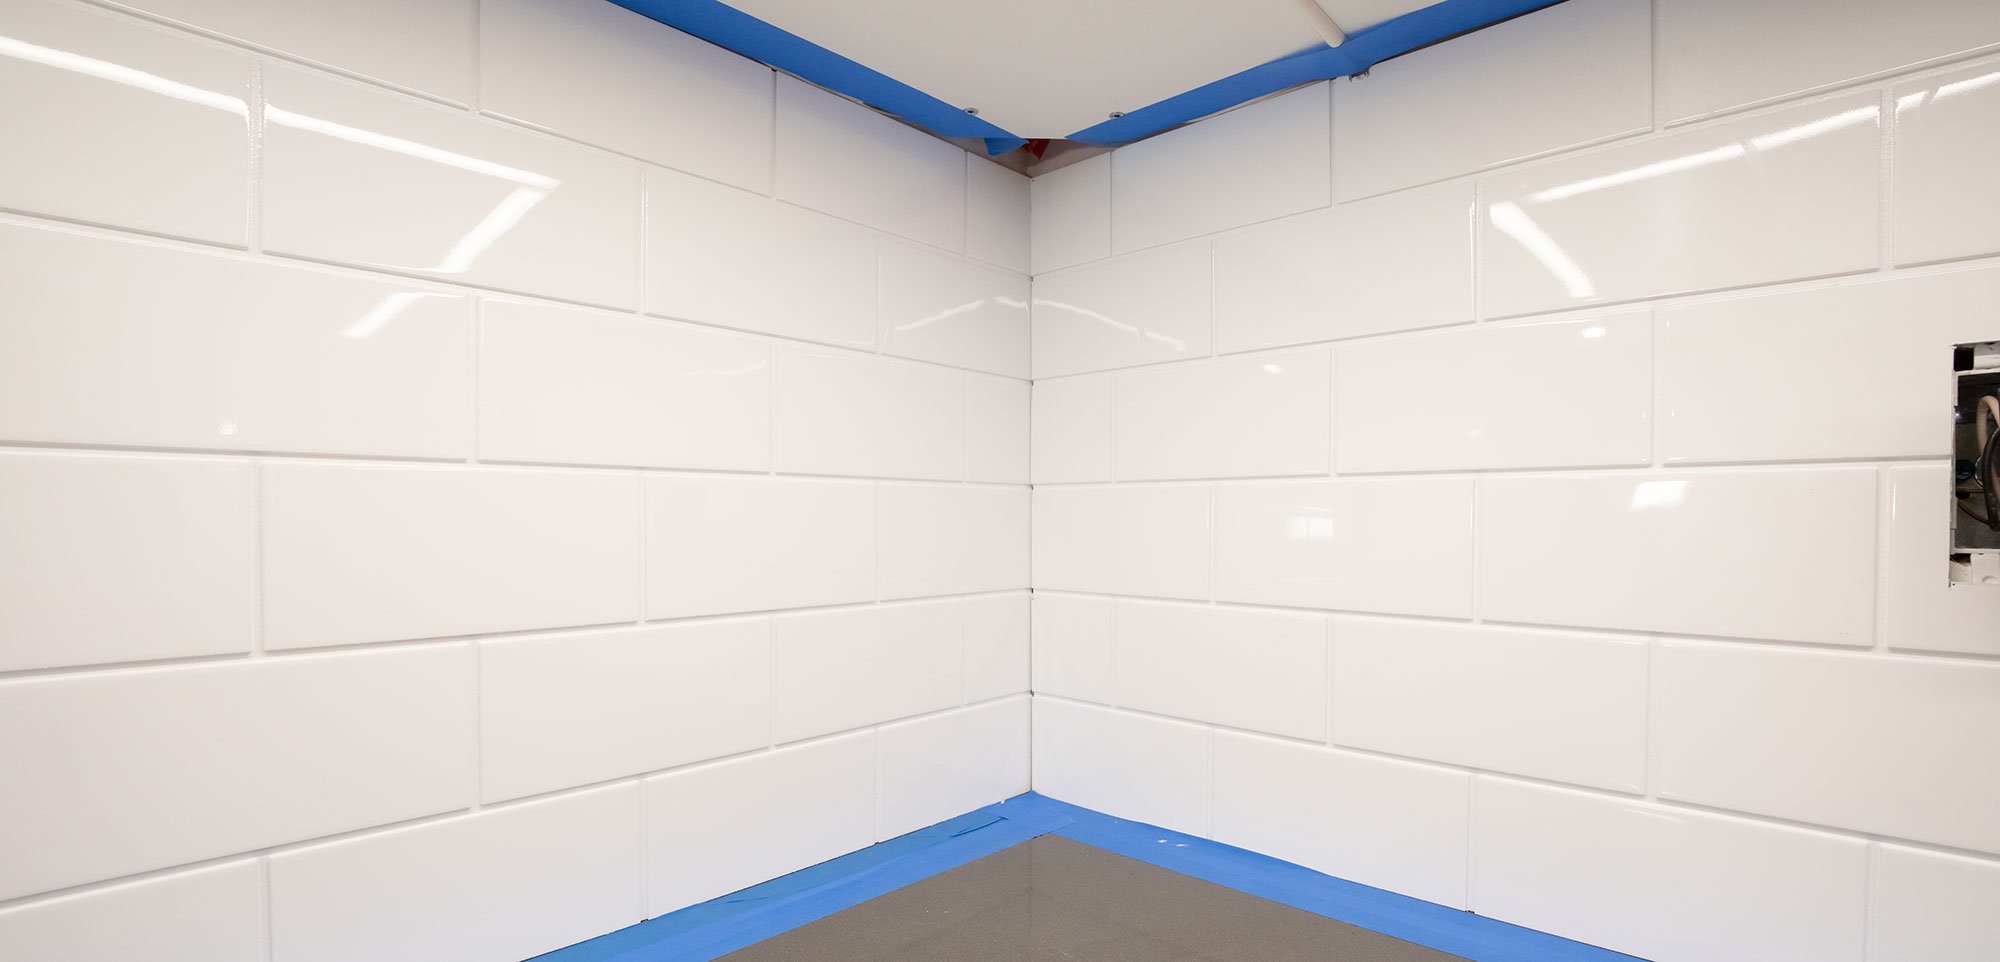
The stacked bond joint tile pattern, also known as the straight set or grid pattern, is simpler than the last pattern. In it, all of the vertical joints are aligned into a grid-like appearance.
See the illustrations below to see the possible joints between horizontal tile panels:

How Stacked Bond Joints are Used
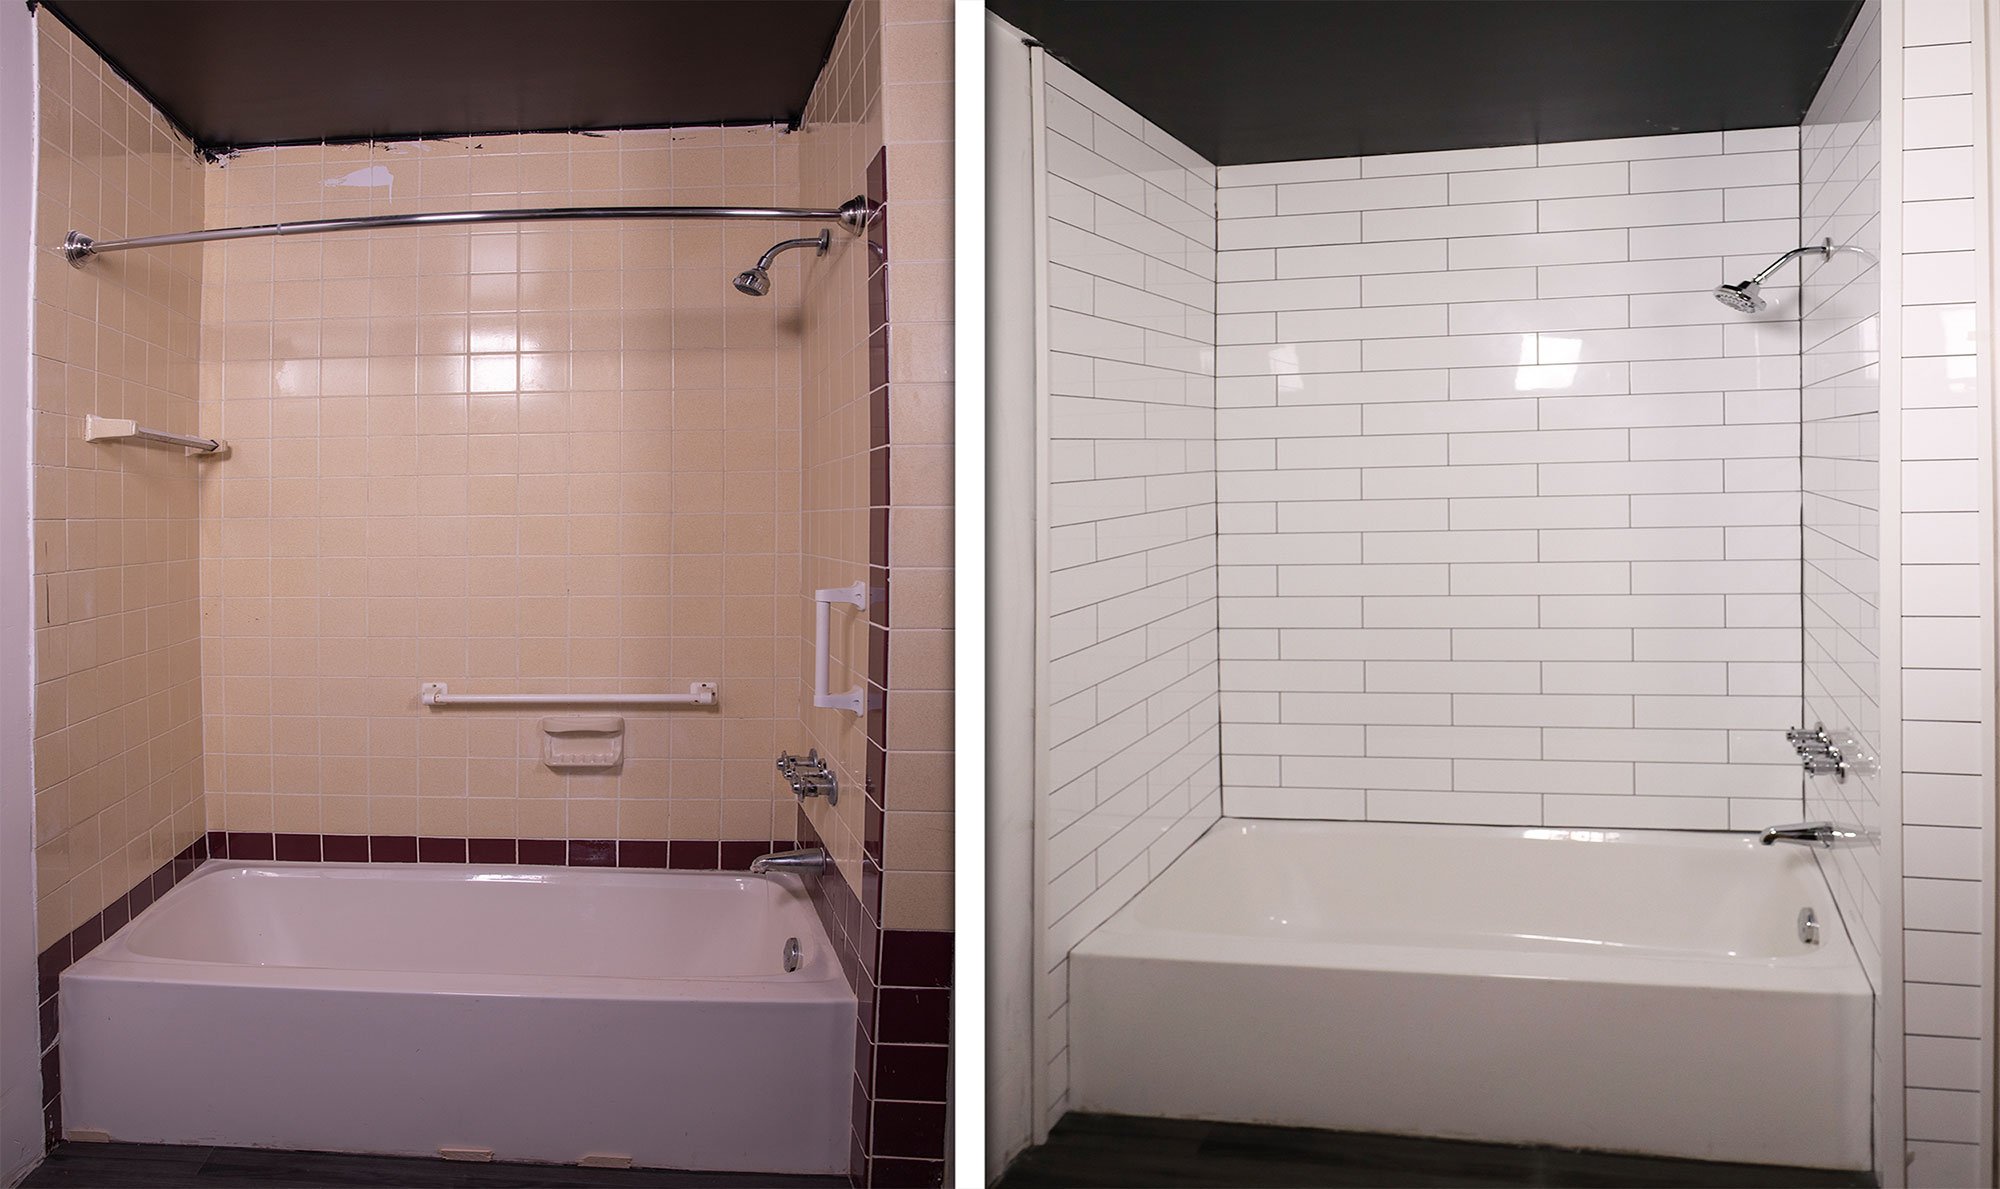
You can use stacked bond joints to achieve a specific design objective for your client, or you can use it to extend shower or tub surround tile. In fact, they are the prime tile pattern to use for the latter purpose. If you need to extend the side wall of a shower or tub surround, for example, it’s much easier and quicker to accomplish this with stacked bond joints rather than running bond joints, which have interlocked joints (more on that in the next section).
How to Extend a Wall with Stacked Bond

Extending a wall with stacked bond is incredibly easy in cases where you plan to extend a shower wall outward into the general bathroom area.
For the most part, this type of installation is similar to that of the initial shower or tub surround. However, you will have to determine the point at which the surround side wall will meet the bathroom wall.
To determine this point, you’ll need to do the following:
- Measure from the back corner to the front edge of the shower pan or tub. In the diagram, this is denoted by the letter “X.” In standard showers, this measurement will be about 36”.
- Measure along the wall from the front edge of the shower pan or tub to where you plan on extending the tile. This is denoted by the letter “Y” on the below diagram. The number of tile panels you’ll ultimately need depends on how much of the wall you’ll be covering.
What to Do With the Seams
There’ll be a seam where the surround kit and the wall panels meet (the prominent red line in the image above). To make the joint seamless, you can use ⅛” tile spacers to create a grout line as wide as the grout channels on the tile panels. As an alternative, you can use T-joint edging to conceal the seams and splice the panels together. Read more on edging options in our tile edge trim options blog.
So, there you have it - running and stack bond patterns for Six3Tile panels. To learn more about installing Six3Tile, you can browse our customer resources or frequently asked questions. You can also contact us directly via our contact us page. Happy tiling!


sm.jpg)