-R(150px).jpg?width=100&height=100&name=Six3_box(red)-R(150px).jpg "logo")
Suggested Tile Tools List for Professional-Grade Six3Tile Installations
Six3Tile Shower and Tub Surround Pro Kits and Backsplash Pro Kits are incredibly easy to install, requiring no specialized skills. Still, having the right tools will make things that much easier! In this article, we’ll share a list of basic tools, as well as optional equipment that comes in handy during a Six3Tile install. We urge you to read this entire list so you’ll have all the necessary items prior to installation and won’t have to run to the store mid-install. Always wear eye protection throughout the entire installation process.
Screwdrivers
To remove and install wall plates, electrical outlets, and light switches, you’ll need both standard and Phillips screwdrivers. If you have an all-in-one screwdriver, that’ll work as well.
Tape Measure and Pencil or Marker
You’ll need both a tape measure and a pencil or marker throughout the Six3Tile installation procedure. Before making any tile panel cuts, you’ll want to measure to ensure a good fit. Because the product is PVC based, it makes it easy to draw lines for your cuts.
Circular Saw
A circular saw is one of the best tile-cutting tools for long, straight cuts on tile panels. If you’d like, you can use a 7” saw, though you may find a smaller 4.5” saw easier to handle. You won’t need any special blades - any PVC or wood blade will suffice - standard teeth are sufficient.
Oscillating Saw
When making cuts for light switches, we recommend using an oscillating saw. It’s the ideal tile-cutting tool for electrical outlets and light switches. For the cleanest cuts possible, use high teeth count blades. If given the choice between a corded and cordless oscillating saw, go with the cordless variety. You’ll appreciate the ability to move around freely.
Utility Knife
A utility knife is a multipurpose item in your toolkit. You can use it for a variety of things, but you’ll mainly use it as a scoring tool for the tiles - score and snap for quick, precise cuts. Have new blades ready to replace old ones as they become dull during the installation.
Drill
A drill can be used for a variety of tasks, from quickly removing light switch/outlet screws, to cutting access holes for faucets (with a hole saw attachment) to mixing mastic and grout (with a mixer paddle attachment).
Levels
It’s crucial to ensure that all of the tile panels are properly square. And the best way to do this is with levels. And as a bonus, you can also use your levels as a straight edge when drawing your cut lines.
Speed Square or T-square
A speed square can help you make accurate right-angled or straight cuts. You can also use a T-square or a straight edge.
Construction Adhesive
To secure your Six3Tile panels to the installation area, you’ll use either construction adhesive. For an average 9 oz. tube applied via a caulk gun, you can get 2-3 panels of coverage pending the amount of cut-outs. The more cut-outs, the more edges, the more edges, the more adhesive. Generally, we recommend generous application around the edges, especially on tabs of backsplash panels, and using a zig-zag pattern for the center of the panel. Be sure to read and follow the manufacturer’s application guidelines.
Tile Spacers (For Six3Tile Backsplash Pro Kits Only)
One of the main hallmarks of a professional tile panel install is straight and consistent grout lines. To ensure that the gap between the tile panels matches the width of the grout channels within the panels, you’ll use ⅛” tile spacers. Using a different size spacer, or “eyeballing it”, may result in inconsistent spacing between tile panels, which will become obvious once grouted. Six3Tile Shower and Tub Surround Pro Kits don’t require tile spacers.
Grout
For Six3Tile panels, you’ll use either unsanded or non-sanded grout - no other grout type is compatible. Other grout types could scratch or otherwise ruin the surface of the tile panels. Feel free to use any brand or color of grout that you’d like. You’ll apply the grout like you would if you were grouting ceramic tile - with a rubber float.
Eye Protection, Earplugs, and Dust Mask
As a precaution, it’s incredibly important to have and use eye protection throughout the entire installation process. It’s also advisable to wear earplugs and a dust mask whenever you’ll be using power tools.
Optional Equipment
The tools mentioned above are best practice for a successful Six3Tile installation. But there are a few optional items you can include in your toolkit as well. Here they are:
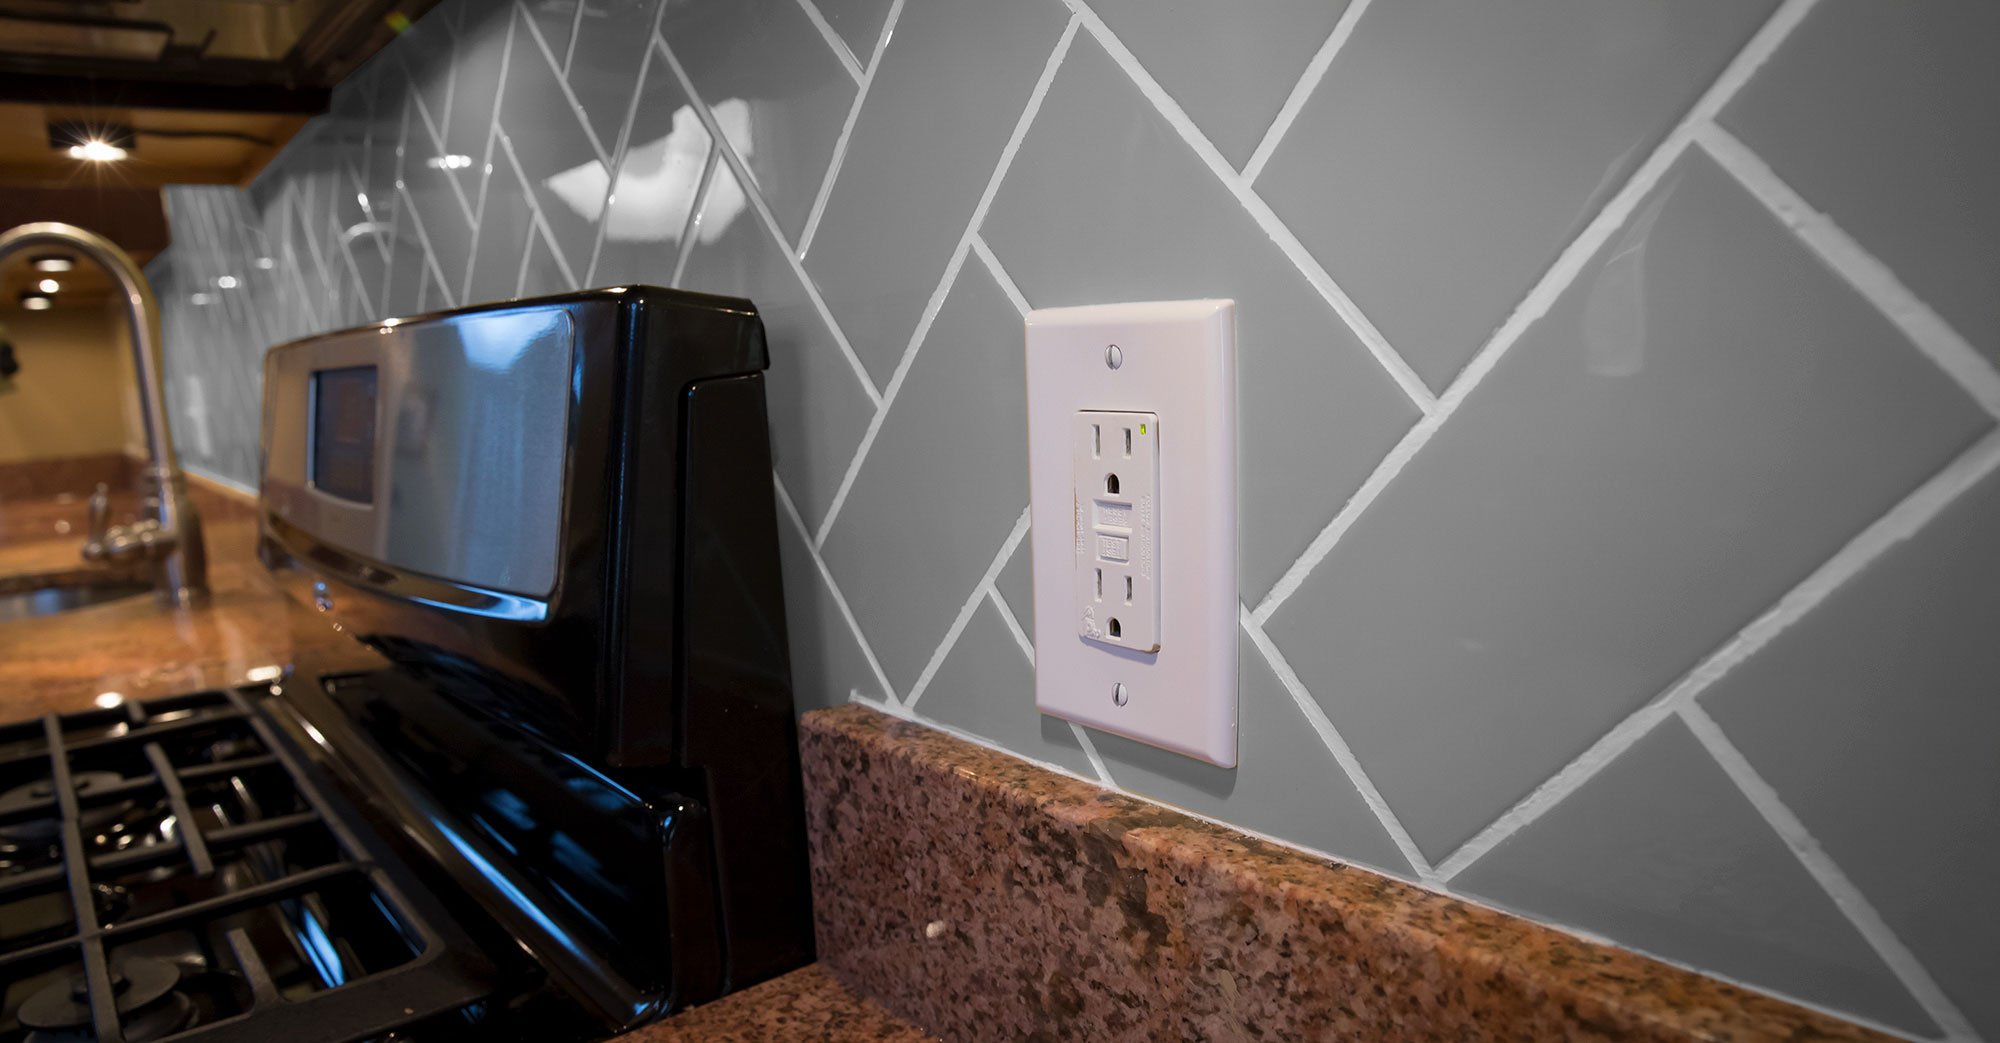
Extra Long Replacement Wall Plate Screws
When you install the Six3Tile wall panels, they’ll add some depth to the wall. This could make it difficult to reinstall outlets and switches with standard-length screws. You can use extra long screws instead to compensate for the difference in wall depth.
Grout Mixing Blade
Using a drill with a grout mixing blade will create the most consistently mixed grout, which provides the best application. It’ll enable you to mix grout (that isn’t pre-mixed) in a bucket with less effort. It’ll help you get the right grout consistency quicker for a better final result.
Track Saw
Get the portability (and accuracy) of a table saw by using a track saw. This tool helps keep your cuts straight on-site and can cost considerably less than a table saw.
Hole Saw
If you plan on using a power drill, you can use a hole saw attachment to make access holes for fixtures and pipes. You can get hole saws in several different sizes.
Solid Portable Work Surface
For optimal safety and convenience, consider setting up a portable, solid work surface. Having a flat area designated for cutting can enhance your safety during the installation.
So, there you have it - everything you need for a Six3Tile installation, as well as some nice-to-have tools to expedite the process. For more information about Six3Tile or how to install the panels, feel free to check out our customer resources or frequently asked questions. You can also reach out to us directly. We’d love to hear from you. Happy tiling!

sm.jpg)
.jpg)