-R(150px).jpg?width=100&height=100&name=Six3_box(red)-R(150px).jpg "logo")
The Six3Tile Backsplash Pro Kit is one of the best alternatives to traditional subway tile. And it’s mainly because of how easy the kit is to install. But to get clean and consistent results, you’ll have to follow the instructions. And that’s what we’ll focus on in this article. By the end, you’ll know exactly how to get a flawless kitchen backsplash install every time!
Are These the Right Instructions for Your Six3Tile Pro Kit?
Before you continue, it’s essential to verify whether these instructions match the kit you have in front of you. This particular installation guide is for the Standard Backsplash Kit, which comes with 5 tile panels. .jpg?width=855&height=345&name=Ferg_Backsplash_Final_04032023_r02(blog).jpg) If your box says Shower Surround Pro Kit or Tub Surround Pro Kit, please follow the hyperlink to those instructions.
If your box says Shower Surround Pro Kit or Tub Surround Pro Kit, please follow the hyperlink to those instructions.
Here are the specs:
3”x6” Subway Pattern
Overall dimensions (each panel):
- 19” wide by 47” long by ¼” thick
- Square feet per board: 6
- Total kit square feet: 30 Standard
If this information matches up with your backsplash pro kit, continue reading to learn how to install the tile panels.
Gather Your Tools and Materials
The first official step is to gather all the materials you’ll need for the installation process. There’s nothing more frustrating than realizing you’re missing a necessary tool or item. To save you time and frustration, gather the below items to get the tile wall panels up:
- Materials not included in the kit:
- Edge trim
- Non-Sanded Grout
- Caulk
- Construction Adhesive or Type-1 mastic. You’ll use adhesive to adhere the tile panels to the wall. Click here for approved adhesives.
3 Utility knife or oscillating tool. Have it on hand for power outlet cut-outs and other cuts.
4 Measuring tape
5 Level
6 Speed square, straight edge, or another similar tool
7 Construction pencil
8 Screwdrivers. You’ll need these to remove electrical outlets and switches before installing the tile panels.
9 Tile spacers. Six3Tile’s grout lines are ⅛”.
10 Grout float
11 Grout sponge
12 Grout buckets
To learn more about materials, check out our in-depth tool list guide.
Take Safety Precautions
Though Six3Tile products are easy to install, it’s essential to take basic precautions like you would with any other install. Here are the main things to do before and during the installation:
1 Protect your eyes by wearing safety glasses.
2 Keep your work area clean to ensure there’s no debris that could hinder the installation process.
3 Wear a dust mask and earplugs when using power tools.
4 Take your time throughout the installation process, and be mindful at every turn to reduce your chances of making mistakes or injuring yourself.
Prepare for Installation
You’ll need to do some preparatory work to ensure the mounting surface is flat, dry, and clean so the panels properly adhere. Reference the below tips to ensure a seamless result:
Prepare Your Surface
Though your mounting surface doesn’t have to be finish quality, you should ensure it is smooth, solid, and compliant with any applicable building codes. If you are installing your Six3Tile over existing tile, thoroughly clean the existing tile to ensure there’s no residue or mold growth and patch any holes left by soap dishes or other previous fixtures. The adhesive won't cure properly unless the mounting surface is clean and free of debris.
Be Mindful of Your Workflow
It’s important to know that the first tile panel you lay down is crucial. For the most professional-looking results, start with the focal point of the installation area and go from there. An example focal point might be the sink, stove, or a corner, depending the kitchen's layout. If you want to save time, start with a straight end and work forward.
Cut the Tile
You’ll have to cut the tile panel to make it fit your installation area. Your ideal cutting technique and tools will differ based on the type of cut you need to make.
Straight and End Cuts
For straight and end cuts, get to a workbench or solid work surface. Mark your cut line with a straight edge. Then, make your cuts with a circular saw, oscillating tool or score and snap with a utility knife.
Outlets, Switches, and Details
To cut out access holes and tricky areas, you can use an oscillating saw with standard blades designed to cut wood or PVC, or you can use a utility knife. For the cleanest possible cut, use a high oscillation rate.
Small Cuts
When you need to make small, intricate trim cuts in corners or around existing structures, a utility knife is the best tool. Before cutting with such a tool, get a new sharp blade. It’s ideal for max safety and performance.
Attach the Tile Panel to The Wall
Before attaching Six3Tile panels for backsplashes to the wall, here are a few things to keep in mind.
Adhesives
As briefly mentioned earlier, you’ll adhere the tile panels to the installation area with one of two adhesives: Type-1 mastic or construction adhesive. If you’re new to either of these adhesives, read the label and any accompanying warnings or instructions. You need to familiarize yourself with how much adhesive to use, surface prep requirements, and how much time you should allow for curing.
Check out this Adhesive & Substrates Technical Bulletin to learn more.
Using Tile Spacers
For consistent grout lines on end-to-end tile panel installs, you’ll use ⅛” tile spacers. The specific tile spacer size will depend on the width of the pre-cut grout pattern on the tile panels. You can use tile spacers vertically when stacking the tile panels or horizontally for an end-to-end install.
Stacking Tile panels
For certain tile panel installations, you may need to stack the Six3Tile panels vertically to go around a window or up to a microwave or stove hood. If your specific kit has straight edges (subway tiles), stacking them is very straightforward; all you’ll have to do is utilize the tile spacers to keep the grout lines consistent. But for other tile types, like Herringbone, some cutting will be required. Here’s how to stack this tile type:
1 Designate an area where the tile panels need to be stacked. Line them up.2 Plan out where the tiles will need to be cut to ensure that the tile pattern remains undisturbed.
3 Using an oscillating saw, cut the tiles as close to the tile surface pattern as possible and then use spacers to maintain a consistent grout line width.
Pro Tip: When stacking tile panels, attach the bottom panel to the wall first. Cut that panel while it’s attached to the wall. Then, measure the top panel and cut it on a workbench. You can then install the top panel.
For more information about stacking tile panels, read our Corners & Stacking Technical Bulletin.
Step-By-Step Instructions for How to Install a Backsplash with Six3Tile Tile panels
With all of that background information covered, we’re ready to move on to the installation process. This section will walk you through the entire process, step by step.
1 Plan your first panel. Chose your starting point, whether the main focal point or at an end of the backsplash.1.1 If starting at an end, remember to account for the thickness of your edging to line up with your counter or upper cabinetry. Then move on to the height of your cabinet (see step 1.2).
1.2 If starting at a focal point, we recommend you keep the factory edge on the bottom side. Measure the height of your cabinets at both ends of where the boards will touch. We all know most construction is not plum and square. The large format of Six3Tile means you don’t have to “cheat” the tiles like a ceramic install, you simply just account for the slight variability in height differences with your cuts.
1.3 Pro-tip: Decide before you start if you want a grout line between your counter and first row of tile. You can either set the tile right on the counter or insert a ⅛” grout line. Either way, be sure to silicone this joint when finishing.
1.4 Make the initial end cut as a starting point. Our Backsplash Pro Kits don’t have a pre-cut end panel, so you’ll have to make your own. Model the end cut after the leading edge of the installation area or the focal point – it’s up to you. But be sure to measure vertically, under cabinets, in case the panel height also needs to be trimmed.
2 Put the tile up against the wall without adhesive to check the fit. You should also ensure that the panels are level. Then, apply adhesive to the back side of the panel and mount it.
3 Continue installing the panels end-to-end using the same techniques explained above. Determine where the panel needs to be cut, cut the tile, check for fit and level, then install. Don’t forget to use spacers to ensure that all the grout lines are consistent.
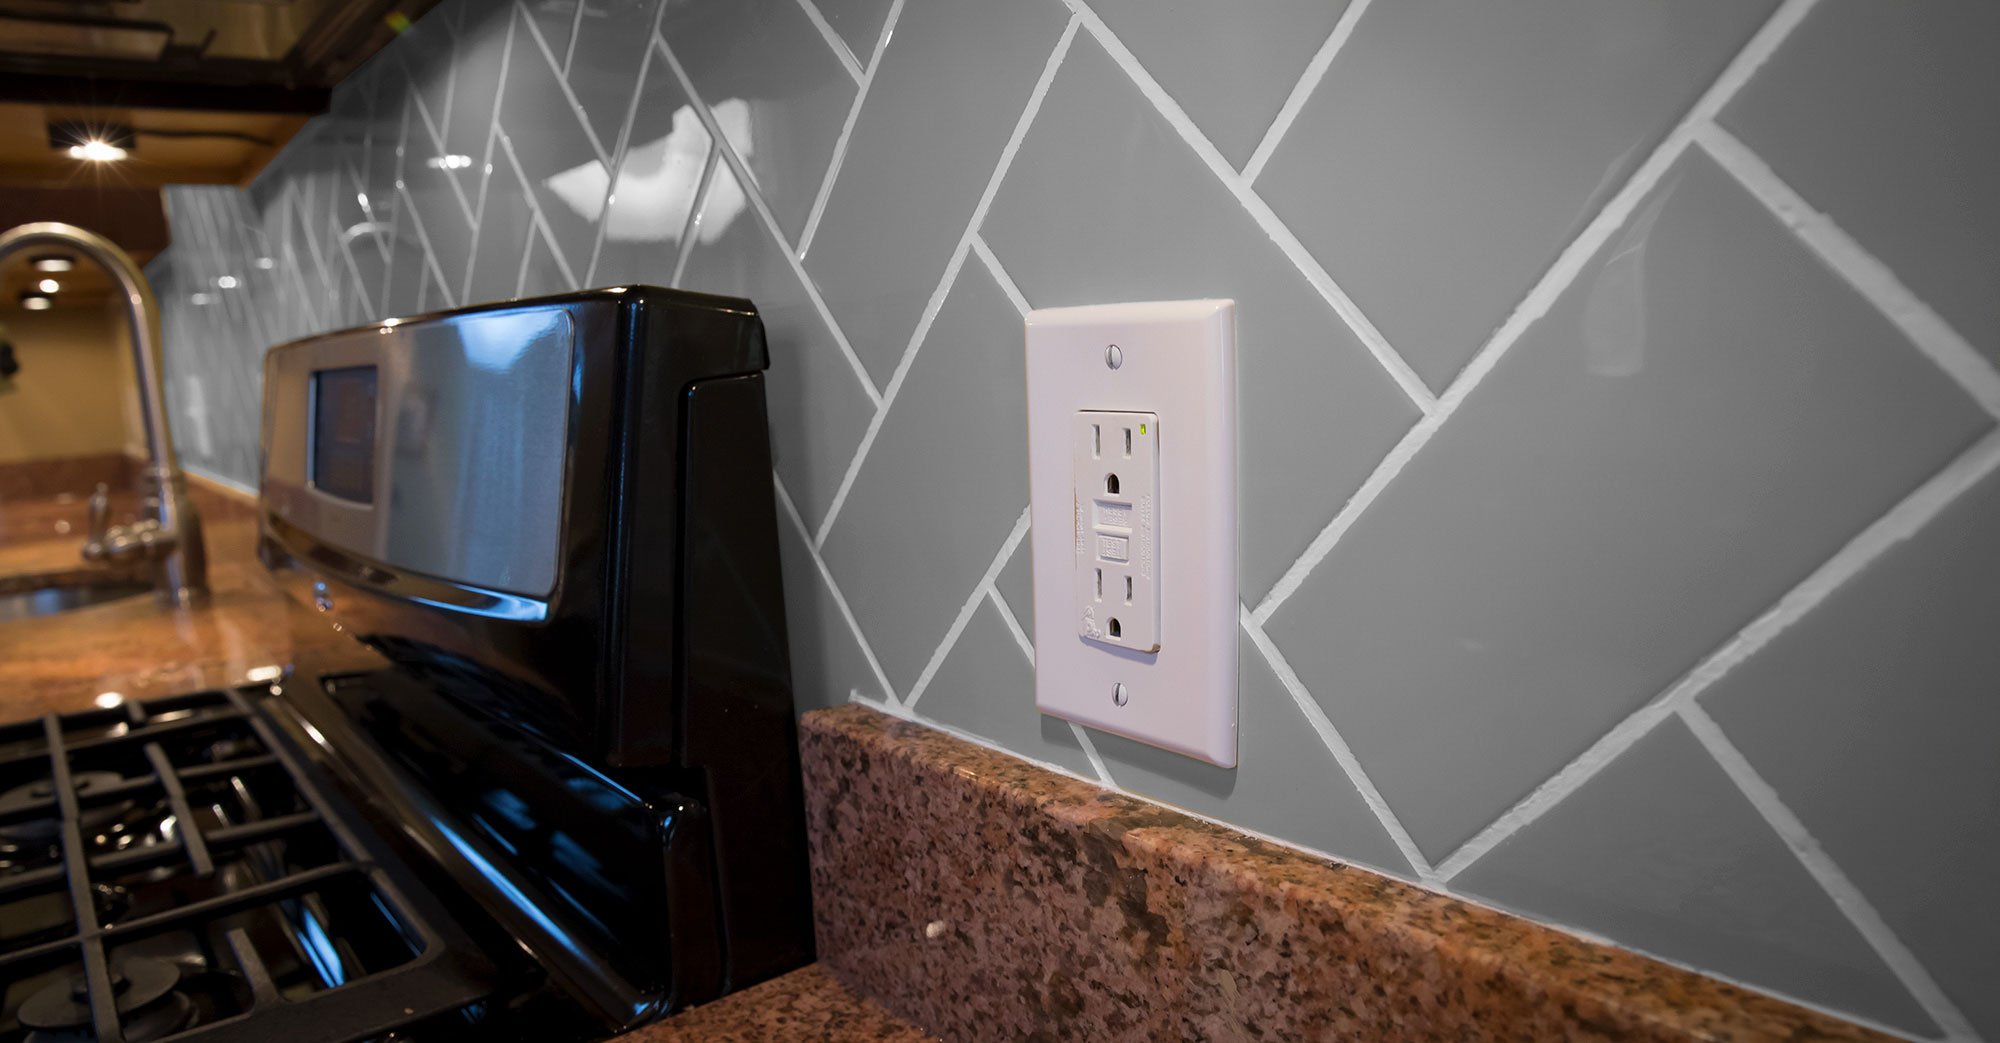
4 Managing cutouts. You’ll run across light switches and other electrical outlets along the way. These panels are extremely important to fit-test. Note whether you make a measurement from an inside or outside tab at one end of the panel so you draw your box properly. We suggest using a utility knife or oscillating tool for the best results. If able, we suggest marking on the back of the board so the front of the tile remains pristine. Note: The surface will be raised ¼” after tile installation. So, the standard mounting screws may be too short to secure outlets and switches to their original boxes. It’s good to have extra-long mounting screws on hand for situations like this.
5 Finish any exposed ends with edge trim or any other trim to make the backsplash look even more professional.
6 Grout the tile panels. There’s no need to wait for curing. Only use non-sanded or unsanded grout. You’ll apply the grout just like you would if you were putting up ceramic tile with a rubber float. Then, remove the excess grout with a clean, damp sponge and wipe off any residue using a microfiber towel.
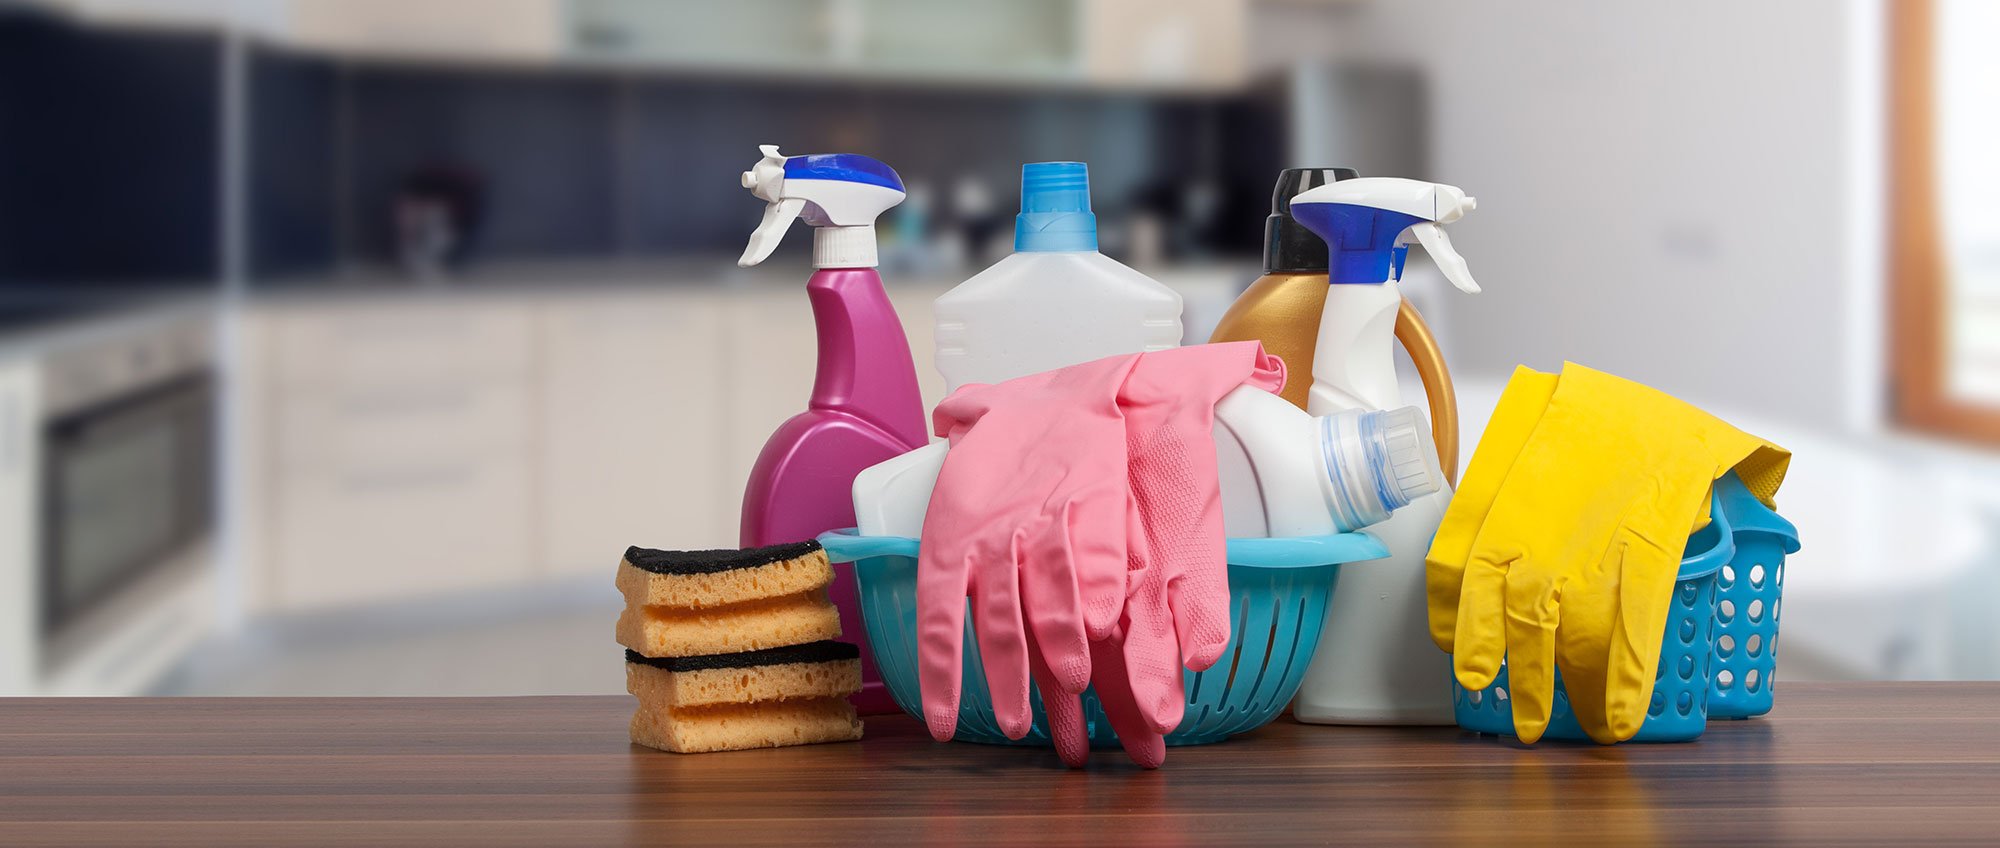
7 Clean the tile. You can use any non-abrasive cleaning materials to keep your tile shining. You can check out this blog on suggested cleaning materials.
8 Caulk any areas where the tile panel meets another surface. You can use any caulk available. Most grout manufacturers offer matching caulk to their grout offering. Clear silicone caulk is also an option.
With the installation complete, all that’s left to do is celebrate a job well done.
If you have questions before, during, or after your Six3Tile backsplash installation, browse our customer resources, frequently asked questions, or contact us directly. We hope that this guide is helpful to you, making the installation process a breeze. Happy tiling!

.jpg)