-R(150px).jpg?width=100&height=100&name=Six3_box(red)-R(150px).jpg "logo")
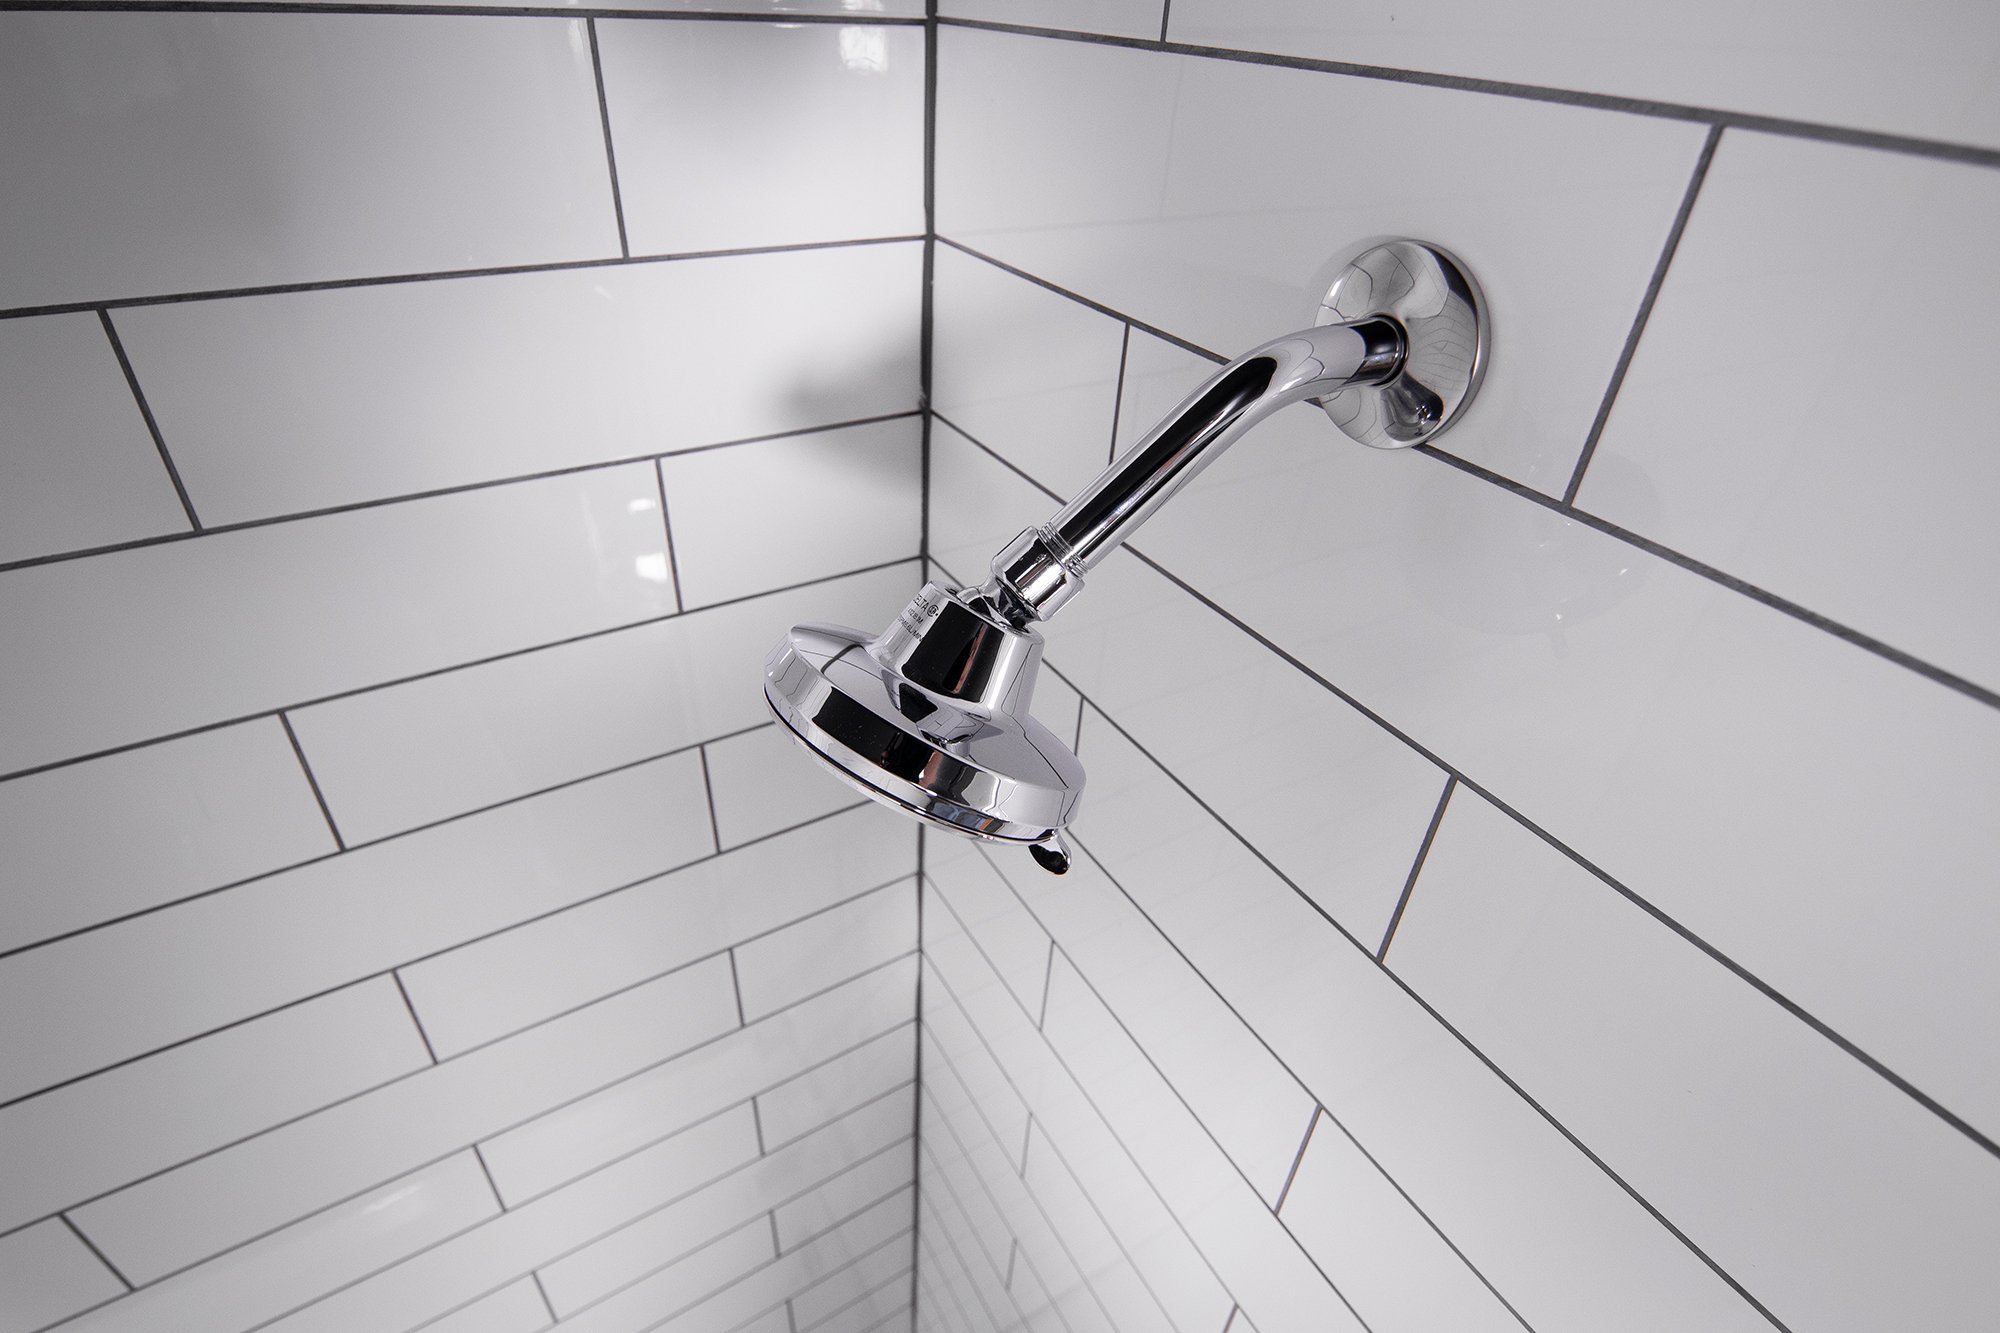
Installing shower and tub surrounds takes skill to execute, especially when working with traditional ceramic tiles. These tiles have to be installed one at a time in a time-intensive and expensive process that requires skilled labor. But what if there was a ceramic tile alternative without all of the negatives? Six3Tile is it!
It’s a PVC-based tile panel solution that utilizes flexible yet sturdy tile panel sheets that are easy to work with, go up in no time, and don’t require setting time before grouting. The best part; even the best master tilers can’t tell the difference between Six3Tile and ceramic tile after its installed. If you want to get an idea of how to install these tiles for your multifamily shower and tub surround renovations, this is the article for you. In it, we’ll share the process in detail, step-by-step, and we won’t leave anything out. Let’s get right into it!
Take Safety Precautions Throughout the Tiling Process
We strongly recommend reading this entire guide from beginning to end before starting your install. It’s important to understand each part of the installation, especially how to properly and safely use all tools.
In addition, you’ll want to take the below precautions to stave off injury and damage to the work area:
- Protect your eyes by wearing safety glasses.
- Keep your work area clean to ensure there’s no debris that could hinder the installation process.
- Wear a dust mask and earplugs when using power tools.
- Take your time throughout the installation process, and be mindful at every turn to reduce your chances of making mistakes or injuring yourself.
Prepare for Installation
Before continuing, be sure to take a look at the contents of your kit. These instructions are for the Six3Tile Shower or Tub Surround Pro Kit,
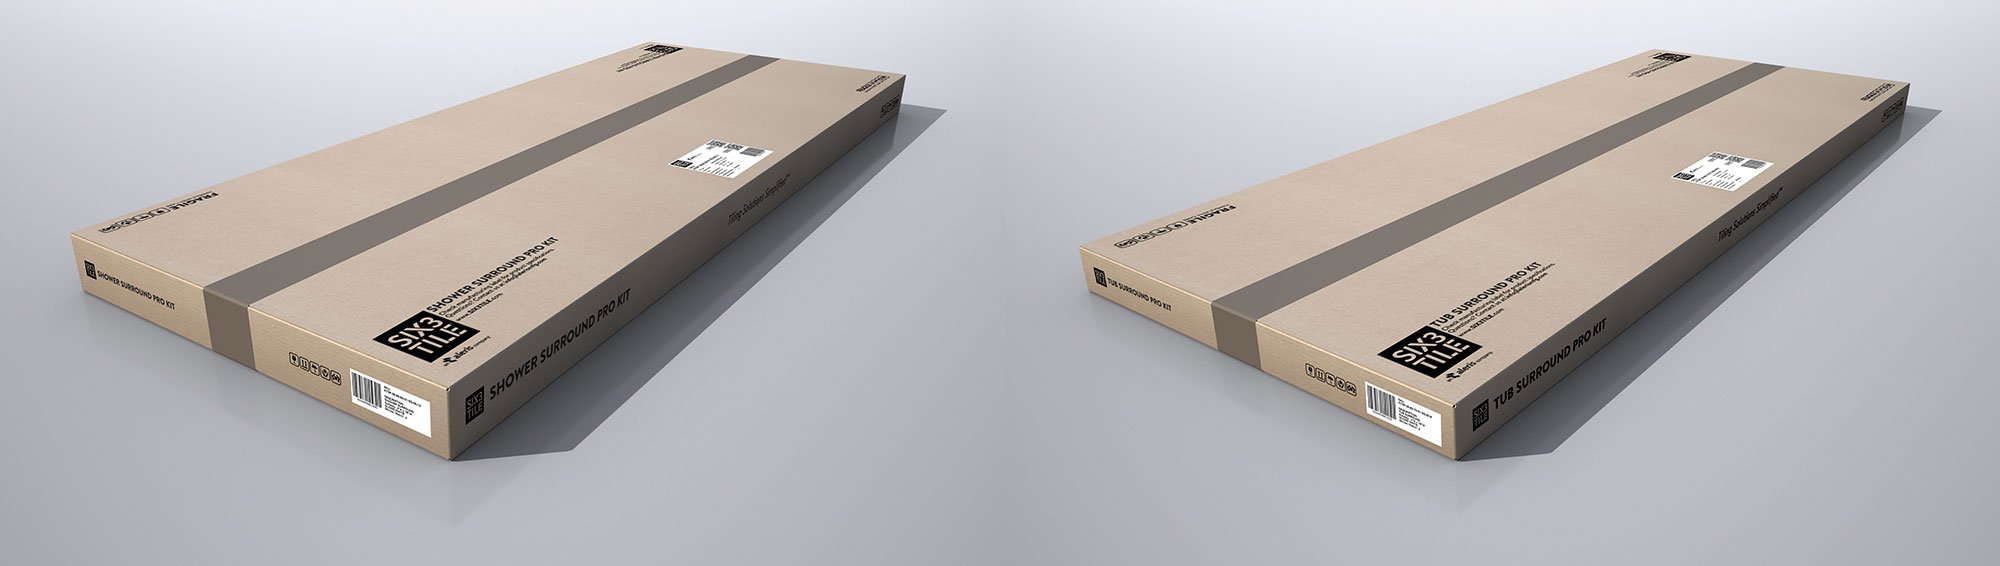
If your box says Backsplash Pro Kit, follow these instructions.
Gather Your Tools and Materials
Though the kit does come with enough panels to cover the average shower or tub surround, there are several tools installers will need to get the panels up and looking professional. So, before you get started, be sure to gather the following tools and materials:
- Not included in kit:
- Edge trim
- Non-Sanded Grout
- Caulk
- Construction Adhesive or Type-1 mastic. You’ll use adhesive to adhere the tile panels to the wall. Click here for approved adhesives.
- Circular saw or oscillating tool. Use it for straight cuts.
- Utility knife or oscillating tool. Have it on hand for power outlet cut-outs and other cuts.
- Measuring tape
- Level
- Speed square, straight edge or other similar tool
- Construction pencil
- Grout float
- Grout sponge
- Grout buckets
To learn more about the tools and materials you’ll need for your tub and shower surround installs, check out our General Suggested Tools List.
Prepare for Installation
You’ll need to do some preparatory work to ensure the surface is flat, dry, and clean so the panels properly adhere. Reference the below tips to ensure a seamless result:
Prepare Your Surface
Six3Tile can be mounted on a variety of surfaces, including moisture-resistant drywall, cement backer board, and even old tile. Just ensure that the surface is solid and relatively smooth. The tiles have a bit of flexibility to compensate for slight irregularities in the installation surface.
But if you’ll be installing the tile panels over old tile, make sure the tile is clean and free of residue, mildew, and mold. Otherwise, the adhesive won’t work properly, diminishing the longevity of your install.
Be Mindful of Your Workflow
It’s important that you work sequentially in the shower or tub surround. Start with the bottom back wall panel first and then do your bottom sidewall panels. You’ll set each row of panels at a time (bottom, middle rows then top row).
Move up the wall as you cut each panel to fit always starting with the back wall and moving to the sidewalls. As you set each panel on top of each other, you’ll notice the tongue and groove in the panels create a perfect grout channel at the connection.
Cut the Tile
Six3Tile Shower & Tub Surround Pro Kits are thoughtfully designed to require minimal cutting. But you’ll still need to do some cuts for a professional-looking finish. Here, we’ll tell you how to do straight and end cuts as well as access holes for pipes and fixtures.
Straight and End Cuts
To do straight and end cuts, you’ll have to use a workbench or any solid work surface. Then, you’ll measure where the cut should be and use a straight edge to mark your cut line. Once that’s all done, it’s time to pull out your circular saw, oscillating tool, or utility knife and cut along the line.
Access Holes for Pipes and Fixtures
To get your access cuts done, you’ll need either an oscillating saw or a hole saw for power drills. Either will give you the control you need to make precise cuts. Measure twice, cut once. Be sure to test fit the panel to the wall before you apply your adhesive.
Attach the Tile Panel to the Wall
As briefly mentioned earlier, you’ll adhere the tile panels to the installation area with one of two adhesives: Type-1 mastic or construction adhesive. If you’re new to either of these adhesives, read the label and any accompanying warnings or instructions. You need to familiarize yourself with how much adhesive to use, surface prep requirements, and how much time you should allow for curing.
To learn more about the processes we mentioned in this section, check out the below technical bulletins:
Six3Tile Panels Watertight Seal
When installing tile panels for wet applications, it’s crucial to seal them to form a watertight barrier to guard against mold, mildew, and substrate damage. Accomplishing this with Six3Tile is a breeze, thanks to the panels’ pre-cut channels and tabs and easy-to-follow stacking order.
It’s important to have a watertight seal at the corners and bottom of your installation area. To achieve that, run a generous bead of silicone caulk to the height of the tile and around the base prior to installation.
For more information on our watertight seal check out this technical bulletin: SeamSeal Assembly
How to Install Six3Tile Shower Panels That Look Like Tile
Installing Six3Tile shower or tub tile panels is straightforward. The tiles should be installed in a systematic way and in a specific order to ensure a professional result..
- Put up the lower back wall panel first. You might notice that the back wall panel might need to be altered by cutting or trimming the edges as the unit may have settled and the walls may not be completely square. If you need to do that, ensure that you only cut or trim one end (the left side ends or the right side ends) throughout the entire installation so the tile pattern will remain consistent. Before you put the tile panel up, be sure to check for fit and ensure that the piece is level. Don’t forget the bead of silicone along the base before you apply the panel. Then, apply the construction adhesive or Type-1 mastic to the back of the panel and mount it. Remember, the building may have shifted while settling and you want to ensure your installation is level, regardless of how level the tub or shower pan are.
- Mount the bottom side panels. Doing so will complete the entire bottom row. Just like the first panel, these two bottom side panels may also need some trimming or cutting to achieve the perfect fit. As we mentioned before, be sure to cut only the same sides to preserve the consistency of the tile pattern as you begin to stack panels. We recommend you keep the manufactured edge facing outward and trim the edge that’ll die into the corner. Then, cut out any access holes as needed, check whether the panels are level at the top, and then match up the grout channels with the back panel. Don’t forget the bead of silicone along the base and up the inner seam before you apply this panel.
- Mount the next row of back and side panels. These will be mounted right above the bottom row of panels by setting the tongue and groove pieces together. If you’ve done it correctly, you’ll see a grout channel appear that matches the tile pattern. View this video for a visualization of this step around the 1:20 mark.
- Finish any exposed ends with edge trim or any other trim to make the Shower or Tub installation look even more professional. To learn how to apply edging to inside and outside mitered corners, read our Technical Bulletin on Edging Options.
- Grout the tile panels. There’s no need to wait for curing. Only use non-sanded or unsanded grout. You’ll apply the grout just like you would if you were putting up ceramic tile with a rubber float. Then, remove the excess grout with a clean, damp sponge and wipe off any residue using a microfiber towel.
- Clean the tile. You can use any non-abrasive cleaning materials to keep your tile shining. You can check out this blog on suggested cleaning materials.
- Caulk the inside corners and base for a Watertight Seal. This will finish your watertight seal. Because the panels are monolithic, your shower or tub cannot be penetrated through the surface of the panel. Making the caulking of the inside corners and bottom edge to the tub or shower pan paramount to achieving your watertight seal. You can use any caulk available. Most grout manufacturers offer matching caulk. Clear silicone caulk is also an option.
So, there you have it – how to install Six3Tile’s shower or tub surround panels that look like tile. Once you get down to installing these tile panels, you’ll realize how much easier they are to install than ceramic tile. They will revolutionize your tiling projects, saving you a ton of time and effort. If you have any questions or concerns about the installation process or anything else, we’ve got lots of resources available for you, including our Resources page and FAQs. You can also reach out to us for additional information. Happy tiling!

-02.jpg)
sm.jpg)
sm.jpg)